Sunday, July 31, 2011

Fresh Off the Vine

It has been a good week here.  Our grapes growing in the garden came up ready to pick and pick them we did!  The only problem with growing grapes (and this holds true for many fruits and veggies) is that they're almost all ready at exactly the same time, which means we had a ton of grapes sitting in our kitchen all week.  We ate some and then we needed to figure out what to do with the rest.


After looking at grape jam recipes I had the idea to search for a grape pie recipe.  Sure enough, I found a few that looked promising.  After browsing through commentors' tips I decided which steps to include in my own recipe.  The crust actually took the longest, as it needed to chill for at least an hour, but the filling came together really easily while the dough was chilling.  After I rolled out the crusts the filling went into the pie.  It was a beautiful color!


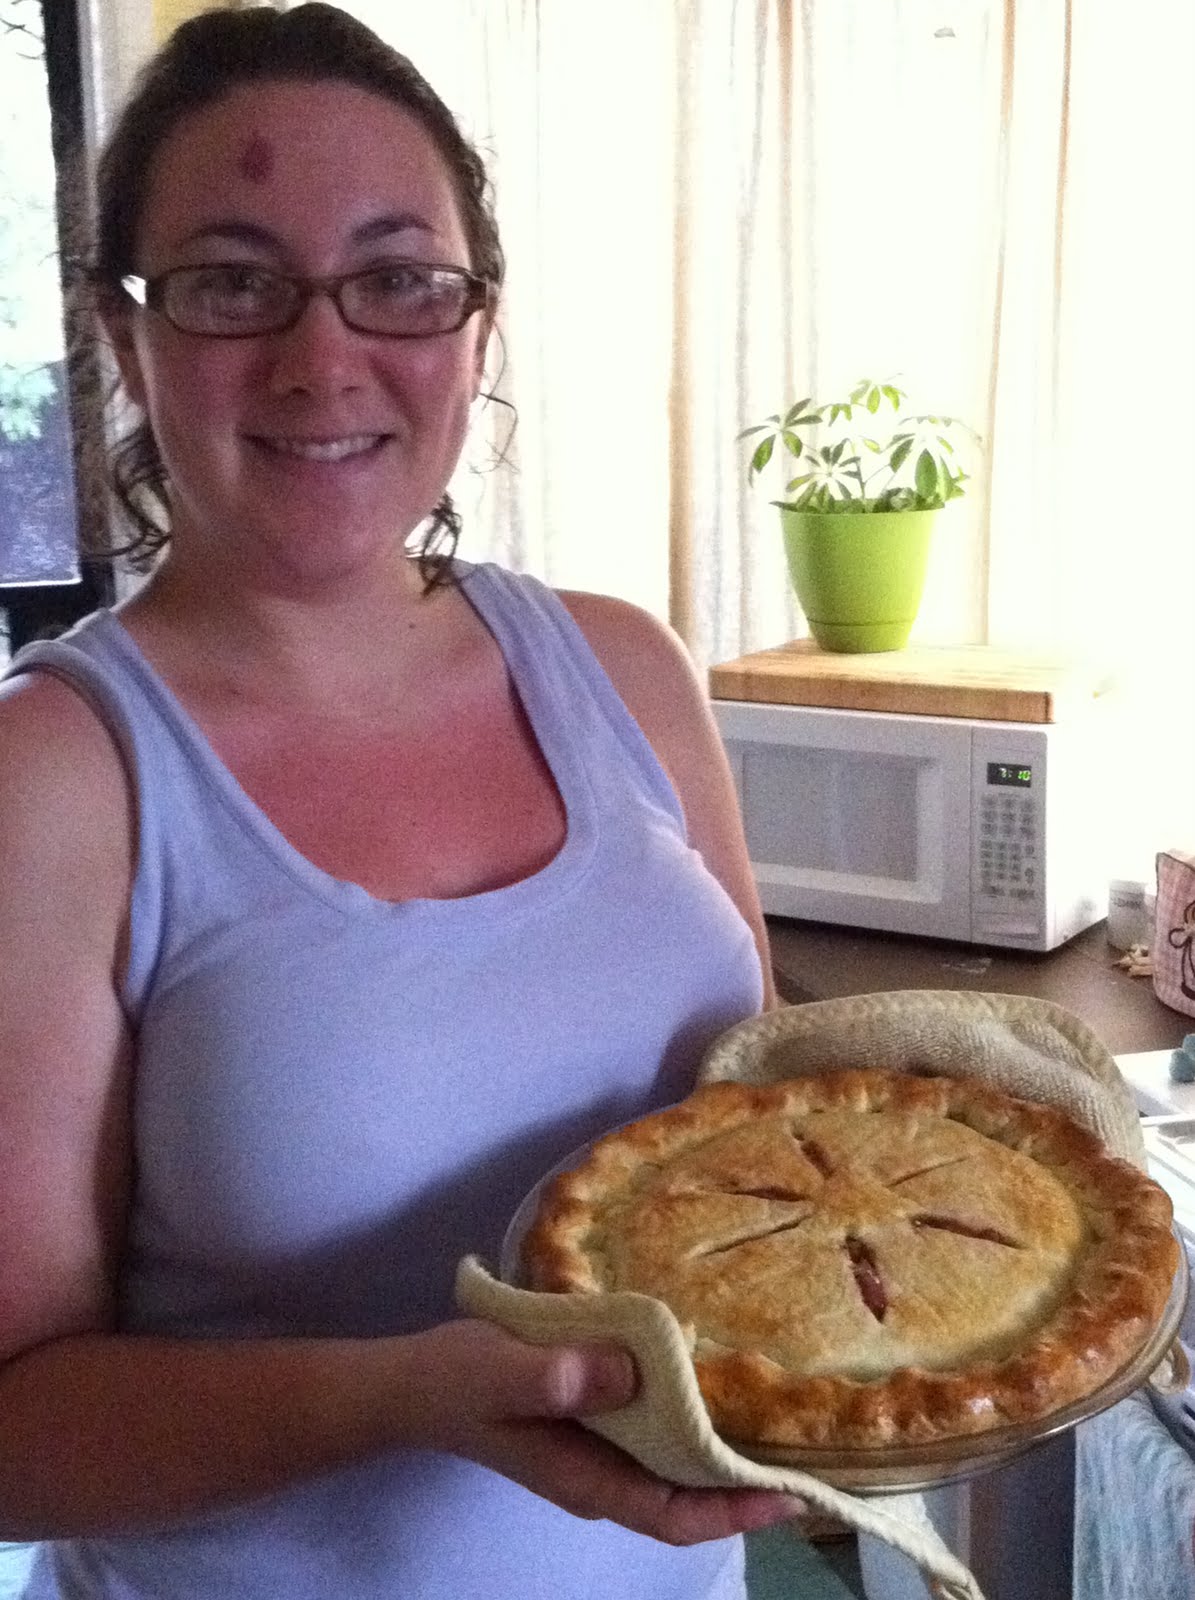
The pie baked for around 45 minutes and came out beautifully!


Grape Pie Filling 
and  
Perfect Pie Crust (from Elise on Simply Recipes)


Perfect Double Pie Crust Recipe

Prep time: 1 hour, 15 minutes

Ingredients

  • 2 1/2 cups all-purpose flour, plus extra for rolling
  • 1 cup (2 sticks or 8 ounces) unsalted butter, very-cold, cut into 1/2 inch cubes
  • 1 teaspoon salt
  • 1 teaspoon sugar
  • 6 to 8 Tbsp ice water


Directions

1.  Combine flour, salt, and sugar in a food processor; pulse to mix. Add butter and pulse 6 to 8 times, until mixture resembles coarse meal, with pea size pieces of butter. Add ice water 1 Tbsp at a time, pulsing until mixture just begins to clump together. If you pinch some of the crumbly dough and it holds together, it's ready. If the dough doesn't hold together, add a little more water and pulse again.

making-dough.jpg

2.  Remove dough from machine and place in a mound on a clean surface. Gently shape into 2 discs. Knead the dough just enough to form the discs, do not over-knead. You should be able to see little bits of butter in the dough. These small chunks of butter are what will allow the resulting crust to be flaky. Sprinkle a little flour around the discs. Wrap each disc in plastic wrap and refrigerate at least 1 hour, and up to 2 days.

pie-crust-crumbles.jpgpie-crust-disc.jpg

Use this time to make the pie filling (recipe below).

3.  Remove one crust disk from the refrigerator. Let sit at room temperature for 5-10 minutes in order to soften just enough to make rolling out a bit easier. Roll out with a rolling pin on a lightly floured surface to a 12-inch circle; about 1/8 of an inch thick. As you roll out the dough, check if the dough is sticking to the surface below. If necessary, add a few sprinkles of flour under the dough to keep the dough from sticking. Carefully place onto a 9-inch pie plate. Gently press the pie dough down so that it lines the bottom and sides of the pie plate. Use a pair of kitchen scissors to trim the dough to within 1/2 inch of the edge of the pie dish.

4.  Add filling to the pie.

5.  Roll out second disk of dough, as before. Gently place onto the top of the filling in the pie. Pinch top and bottom of dough rounds firmly together. Trim excess dough with kitchen shears, leaving a 3/4 inch overhang. Fold the edge of the top piece of dough over and under the edge of the bottom piece of dough, pressing together. Flute edges using thumb and forefinger or press with a fork. Score the top of the pie with four 2-inch long cuts, so that steam from the cooking pie can escape.


Grape Pie Filling

Prep time: 25 minutes

Ingredients

  • 5 cups grapes
  • 1/2 cup water
  • Juice of 1 lemon
  • 1/2 cup sugar
  • 1/4 cup flour
  • A pinch of salt  
  • Egg white


Directions

1. Place grapes, water and lemon juice in a pan over medium heat and bring to a boil.  Boil, uncovered, for about 20 minutes.  Turn off flame.

2. Add sugar, flour and salt to grape mixture and whisk until there are no remaining flour lumps.

Set aside until crust is ready.  

3. Pour filling into first pie crust and top with second crust.  Brush top of pie with egg white.  

4. Bake at 400˚F for 45 to 50 minutes.

Enjoy!!

Thursday, May 26, 2011

Fern Gully: Part II

This past weekend Aaron's mom, Robin, came to town and gardening ensued.  In fact, Gardenstravaganza (that's what I'm calling it) is still going on.  Right now, I'll just focus on the ferns though.  If you're reading this, it is fairly likely that you have already read Fern Gully: Part I in which I told you about pulling out some ferns growing in the small front bed under our living room window.  Well, this post is about pulling out the biggest fern(s?) I have ever laid eyes on.  Now, like most people I tell my plans to, you maybe cringing at the idea of me removing large amounts of ferns.  You may be saying, "But ferns are so pretty," or "Oh, why are you pulling those out?  They're so expensive!"  Well, this behemoth had taken over most of a 5 x 15 foot bed and had overgrown a rose bush, two camellias and some plants I have yet to identify.


So this weekend Aaron and I got to work.  We got all of the ferns removed and hauled them to the dump (green waste, not landfill).  The largest piece we pulled out measured about 5 x 2 x 3 feet and some of the fern fronds were nearly 5 feet tall.  I'm sure they'll come back; sword ferns are tuberous and there were thousands of tubers/bulbs/whatever you want to call them underneath the mass of plants.  We removed all we could, but went down too deeply for us to reach them all.  I will be diligent in pulling new growth when I discover it.  And that's definitely 'when' and not 'if'. 


As you can see, having the ferns out makes a huge difference.  The rose bush is now without support, but it had fallen over in some strong wind we had a few days prior to the fern removal.  We just need to get it staked back up and it will be fine.  We still have a lot of work to go though.  Eventually we will be moving some of the white rose bushes (Iceberg) from the backyard into the bare place on the left.  We're hoping the camellias will fill out a bit as well now that they get more sunlight and have a little extra growing room.  The unidentified plants have beautiful flowers, but they multiply rapidly so they may eventually be replaced by another white rose bush so we don't end up with a bed full of those.

Wednesday, May 25, 2011

Cellar Door

Well, not a cellar really, but a pantry.  A couple of weeks ago I painted our pantry door with chalkboard paint.  It is the perfect place to write the menu for the week and remind ourselves of ingredients to put on the grocery list.

 Before:                                                                                                     After:

Thursday, April 28, 2011

Fern Gully: Part I

Just a quick post for today.  Yesterday I spent a little time outside in the front yard and pulled out some ferns that were covering azaleas.  There are a lot of ferns that have overgrown much of the front yard flower/shrub beds.  So here's a quick before and after.  For only spending about 20 minutes on this, I think it's a pretty big improvement; I'm satisfied.

Before:


After:

Wednesday, April 27, 2011

Open-Door Policy


This weekend marked one week since moving in, and those who have been over know all about our garage door issues.  For those that haven't or don't, let me just tell you that it was made of solid redwood (yes, beautiful), weighed about a gazillion pounds, worked on a single pivot instead of sliding sections, and had a broken opener and springs.


All this meant that lifting it manually was a bitch and a job for at least two people, although Aaron somehow managed to lower it himself a couple times.  And since the springs were broken it had to be propped up with something so it didn't come smashing down onto our heads.  On move-in day it took about five of us to test out miscellaneous sticks and scrap pieces of wood around the garage to see which was the least bowed, most stable, and could best hold up the gazillion-pound garage door.  After some not-so-great tries we settled on a large stick that was found in the backyard.

After a few days of risking being smashed to death by the garage door Aaron and I decided to saw down a long, steel pipe that we found in the garage.  Aaron and I lifted the garage door, he locked his elbows, and I notched the pipe into place.  This became our routine when garage access was needed.  (There is a door to the backyard, but it is really far out of the way and isn't big enough for some things to fit through.) 
   
Well, the issues (and sadly, the beautiful wood) are gone; yesterday we had a new garage door and opener installed.  We went with a very lightweight steel version in a cottage style, and while I was sad to see the solid wood go, I know this will end up being a good exchange.  I absolutely love the new door!

Sunday, April 24, 2011

Now We're Cooking

     This is going to be a post about a light fixture we replaced in the kitchen, but I want to start with a little back story here.  It was the Tuesday after we had moved in (the fourth day we had lived here) and we were getting ready to do a little cooking.  (Our kitchen has three lights, which is nice, but all three are on different switches, which is annoying.)
     Anyhow, we were cooking and Aaron flipped the switch to light the fixture closest to the stove.  All of a sudden there was a giant spark in the cord and a loud snapping noise.  It turns out that when I had raised the old fixture up on its swag (it was hanging down at about a four foot level when we moved in) the ground wire had frayed to the point that it broke in half.  The spark and crackle was the result of the light fixture grounding to itself.  Needless to say, it was time to replace our first fixture.


Here is the old fixture that grounded in the center of our kitchen:


     Aaron and I had already discussed replacing this particular fixture and we had actually chosen the replacement already, we just hadn't anticipated having to make a trip to IKEA to get it in the middle of the week, and during rush hour at that. 
     So I moved on to Plan B; I would find something similar at Home Depot the next day and Aaron could install it that night.  Fast forward through Home Depot, Lowe's and Lamps Plus and a few frustrating hours later I still had not found anything similar to what we had picked out or even something we liked in general. (I guess we're light fixture snobs...)
     The last stop on my list of lighting stores was Lightbulbs Etc. and I was hoping I could find something affordable there.  Almost immediately I found an even better version of what we had originally picked out and it was only $80.  I should have known then that it was too good to be true. 
     I asked a salesperson how I could buy the fixture and he told me to come sit with him to pick out finishes.  I told him I liked exactly what they had hanging up and I would be happy without customization.  He then informed me that the fixture I had chosen was a custom fixture;  it would be built to my specifications in Chino, CA (about five miles from our house) and ready for delivery in about four weeks.  So close, yet so far away.
    At that point I called Aaron to tell him we wouldn't be going to Yoga that night and would instead be driving to IKEA to buy a light fixture.  He was not very happy, but in the end he bit the bullet and obliged. 

So, one trip to IKEA, $30 and about 30 minutes of installation time later, this is what we ended up with and we couldn't be happier with it:


     We also replaced a can light over the sink with a pendant.  Another project with a couple of setbacks, but nothing major compared to the first fixture issues.  I designed this one for us about a year ago for the rental house and, no kidding, about two weeks or so after we had made it I saw a pendant very similar posted for sale on a website for $80.

Old can light over the sink:


Mason Jar Pendant over the sink:

Our New House!

So many people have been asking to see photos of our new place so here are a few taken right after we got the keys.  As we get things put away and boxes cleared I will make sure to post some with our stuff in it.

Here is the kitchen, which in my opinion is the heart of any house.  This is the room that needs the most work, but we will get to it eventually.  We have already made some minor changes to it, so look for pics and details of those in some follow-up posts.


Here is the dining room.  We really want to get the wallpaper down in here.  This will be one of the first interior DIYs we will get done.  


This is our living room.  It is the room that needs the least amount of work.  Also high on the DIY to-do list is painting the front door.  We want to go with a purple hue and I think we already have the exact color chosen.  Pics of that to come soon.


This is our bathroom.  We also want to re-do this room eventually, but we're waiting for now.  The future holds a re-tiling job, paint, a new light fixture and a new sink as well as the removal of the shower door.  (We prefer a curtain.)  Also, this photo may seem to be missing something: the toilet!  No worries; it is just next to the shower in the foreground. 


 Here is our bedroom.  When we got into the house we discovered the previous owners had left several things, including a large wood dresser.  We decided to move that into our bedroom and get rid of a couple of smaller dressers we already had.  The color in this room is a light, soothing green that I am really diggin'.  We may end up painting it in the future, but I'm enjoying it for now.  Also, don't laugh at the fan.  Well, you can laugh, but just know that we have already replaced it with one that the light isn't hanging off of by the electrical wires. ;)


This is the second bedroom.  It is acting as a guest room, an office and a library.  Aaron says it looks like a room you might find in the Weasley burrow since it is a little cluttered, but he means that as a compliment.  Haha!  (That's a Harry Potter reference for those of you scratching your heads.)


And here is the backyard, my favorite thing about the whole house!!  We have a persimmon tree, an apple tree, an avocado tree, a plum tree, a Meyer lemon tree, a regular lemon tree overhanging from the neighbor's yard and too many different flowers and shrubs to list.  It also has a covered patio / gardener's shed in the back.  There is a sand pit waiting for a brick patio to be laid out and we also plan to put a fire pit back there to enjoy on cool nights.


And that is our house!  Like I said above, I will try to get some photos posted soon of the house with our stuff in it.  We're also getting a new garage door this week so look for before and after photos soon!